Proud Authorized Iron Orchid Designs Stockist!
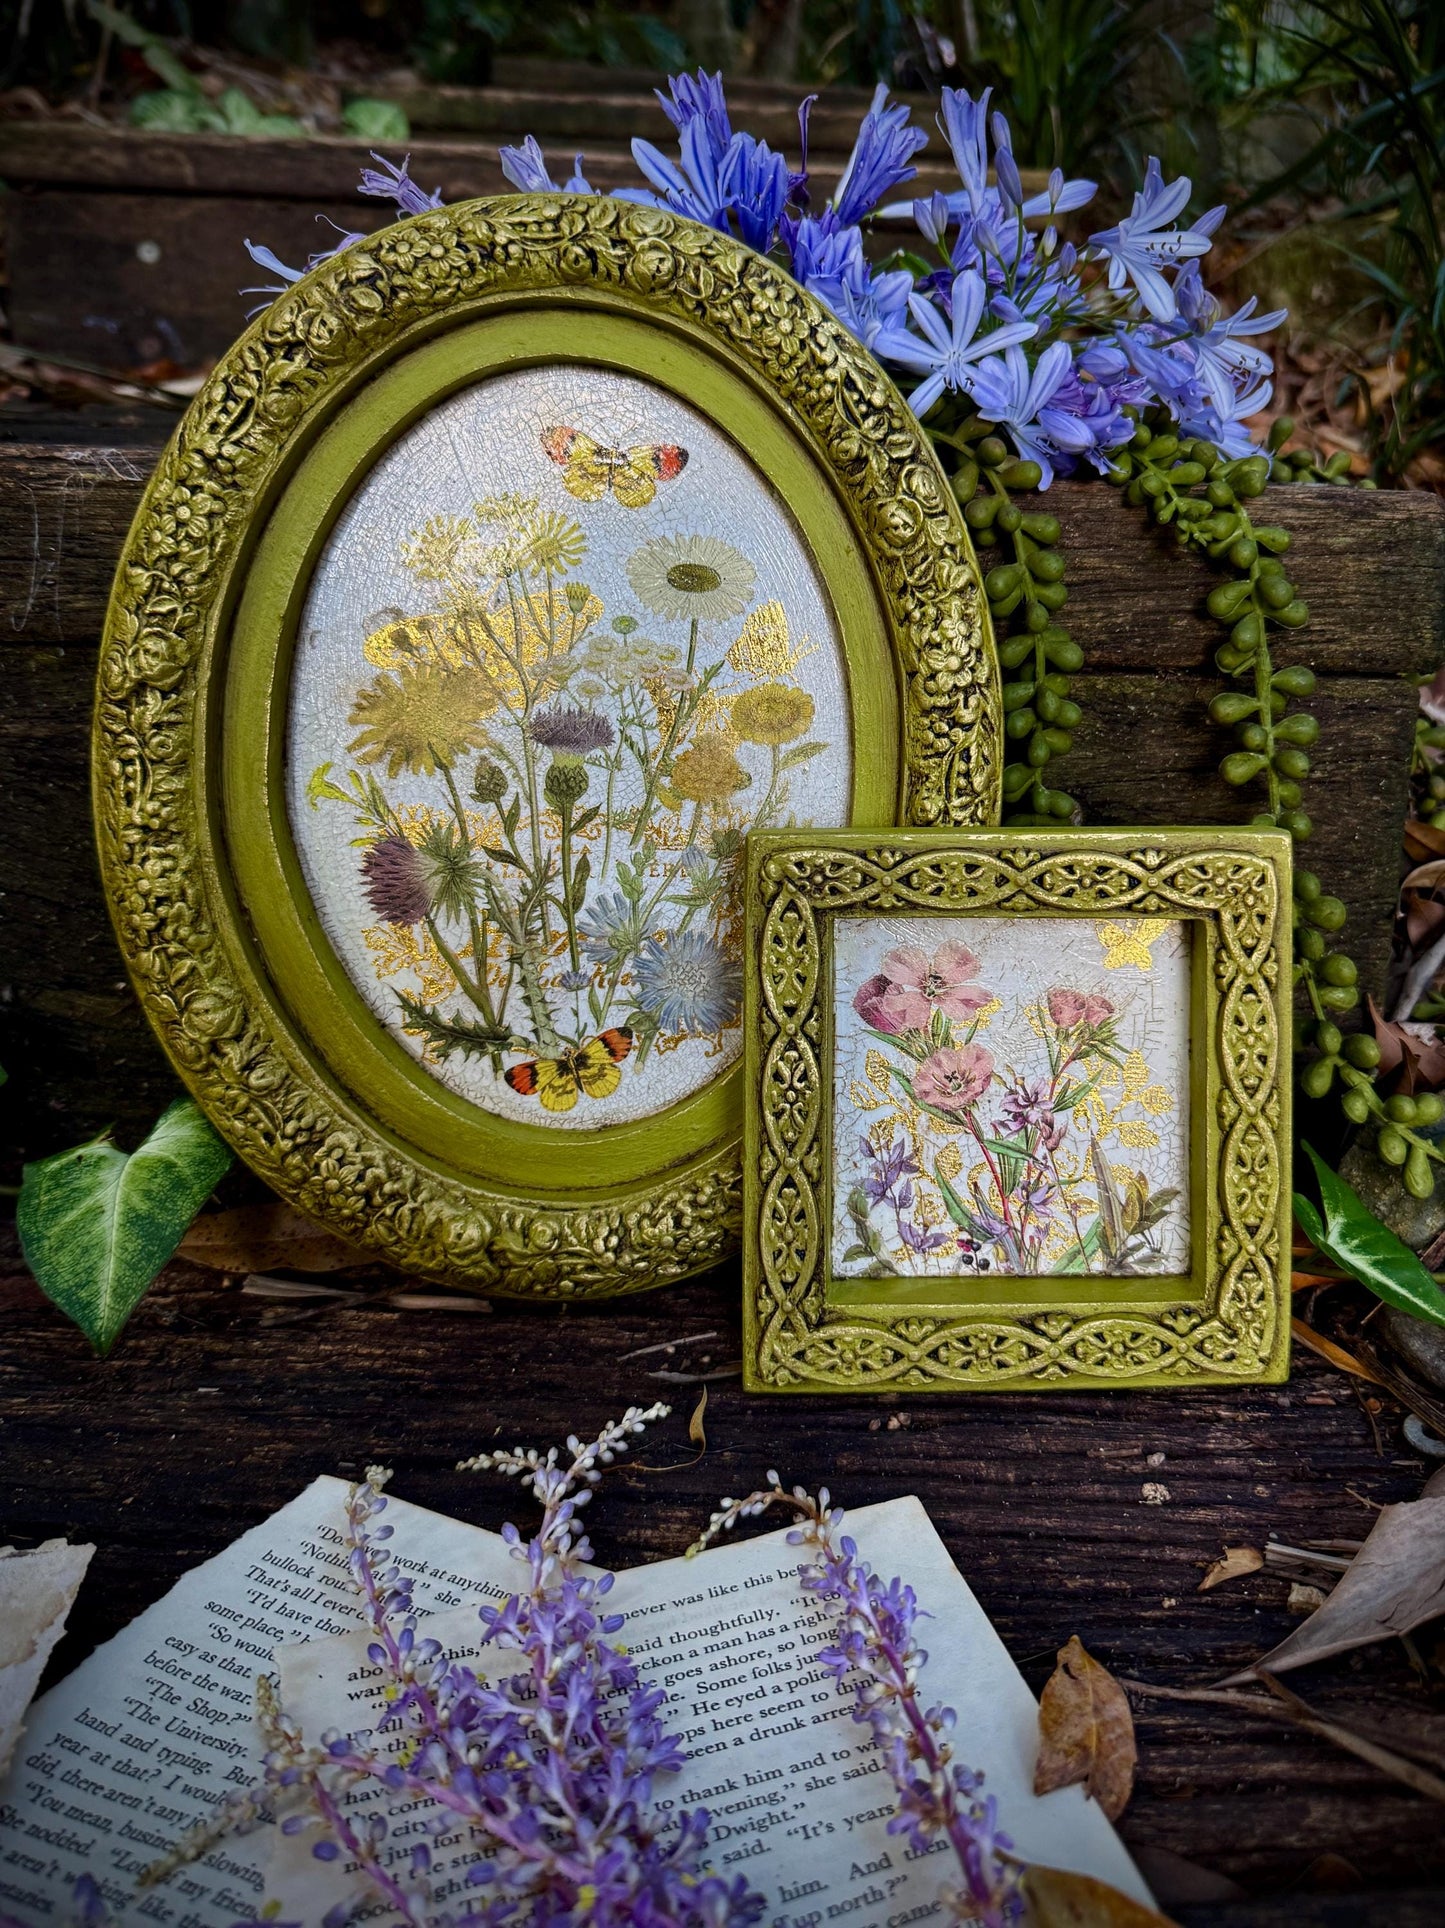
Flora Greca - IOD Transfer - The Flora Greca – 8-Page 8x12" Transfer Pad takes its name from a ten-volume botanical masterpiece published between 1806 and 1840, often described as one of the most beautiful and ambitious works of its kind. We’ve incorporated several of the ornate frames from this historic collection, pairing them with artwork inspired by the detailed floral studies of Jane Landon, who was renowned for her precision and expressive botanical renderings. Together, these elements create a foundation that feels both sophisticated and true to its classical origins.
To complement the florals, we added a selection of exotic birds, delicate wildflowers, fruit, and bumblebees—elements Sally loved for their elegant, slightly elevated feel and the way they distinguish this transfer from more traditional botanical sets. The result is a collection that feels unique, graceful, and quietly luxurious, with plenty of room for creative interpretation.
🌿 **What Are IOD Transfers?**
IOD Transfers are high-quality, pressure-sensitive designs that effortlessly transform furniture, small décor, crafts, and more. They’re designed with sustainability and timeless style in mind, ensuring that your creative projects become lasting treasures.
✨ **How to Apply IOD Transfers:** ✨
1. **Prepare Your Surface:**
- Ensure the surface is clean, dry, and matte.
- If painted, allow the paint to cure completely and remove any sanding dust.
- For best results, seal the surface with a high-quality, water-based matte polyurethane before applying the transfer.
2. **Position the Transfer:**
- Keep the backing sheet attached until you’re ready to apply.
- Carefully peel the backing and position the transfer exactly where you want it.
- Use low-tack tape to hold it in place if needed.
3. **Apply the Transfer:**
- Using the provided tool (or your favorite burnishing tool), start at one edge and rub firmly to adhere the design.
- If any areas don’t stick, simply lay the transfer back down and burnish again until the image is fully transferred.
- Smooth down any loose edges for a seamless finish.
4. **Seal for Protection:**
- After application, seal with a water-based sealer or a gentle, non-harsh solvent-based sealer.
- Waxes designed for chalk-style paints can also be used, as long as they’re free from harsh solvents.
💡 **Pro Tips for Best Results:**
✔️ Keep the adhesive side clean and dust-free to ensure smooth adhesion.
✔️ Avoid letting the sticky side fold onto itself.
✔️ Store transfers in a cool, dry environment to preserve their quality.
✔️ Layer with IOD stamps and moulds for a custom, dimensional look.