Authorized Iron Orchid Designs Stockist!
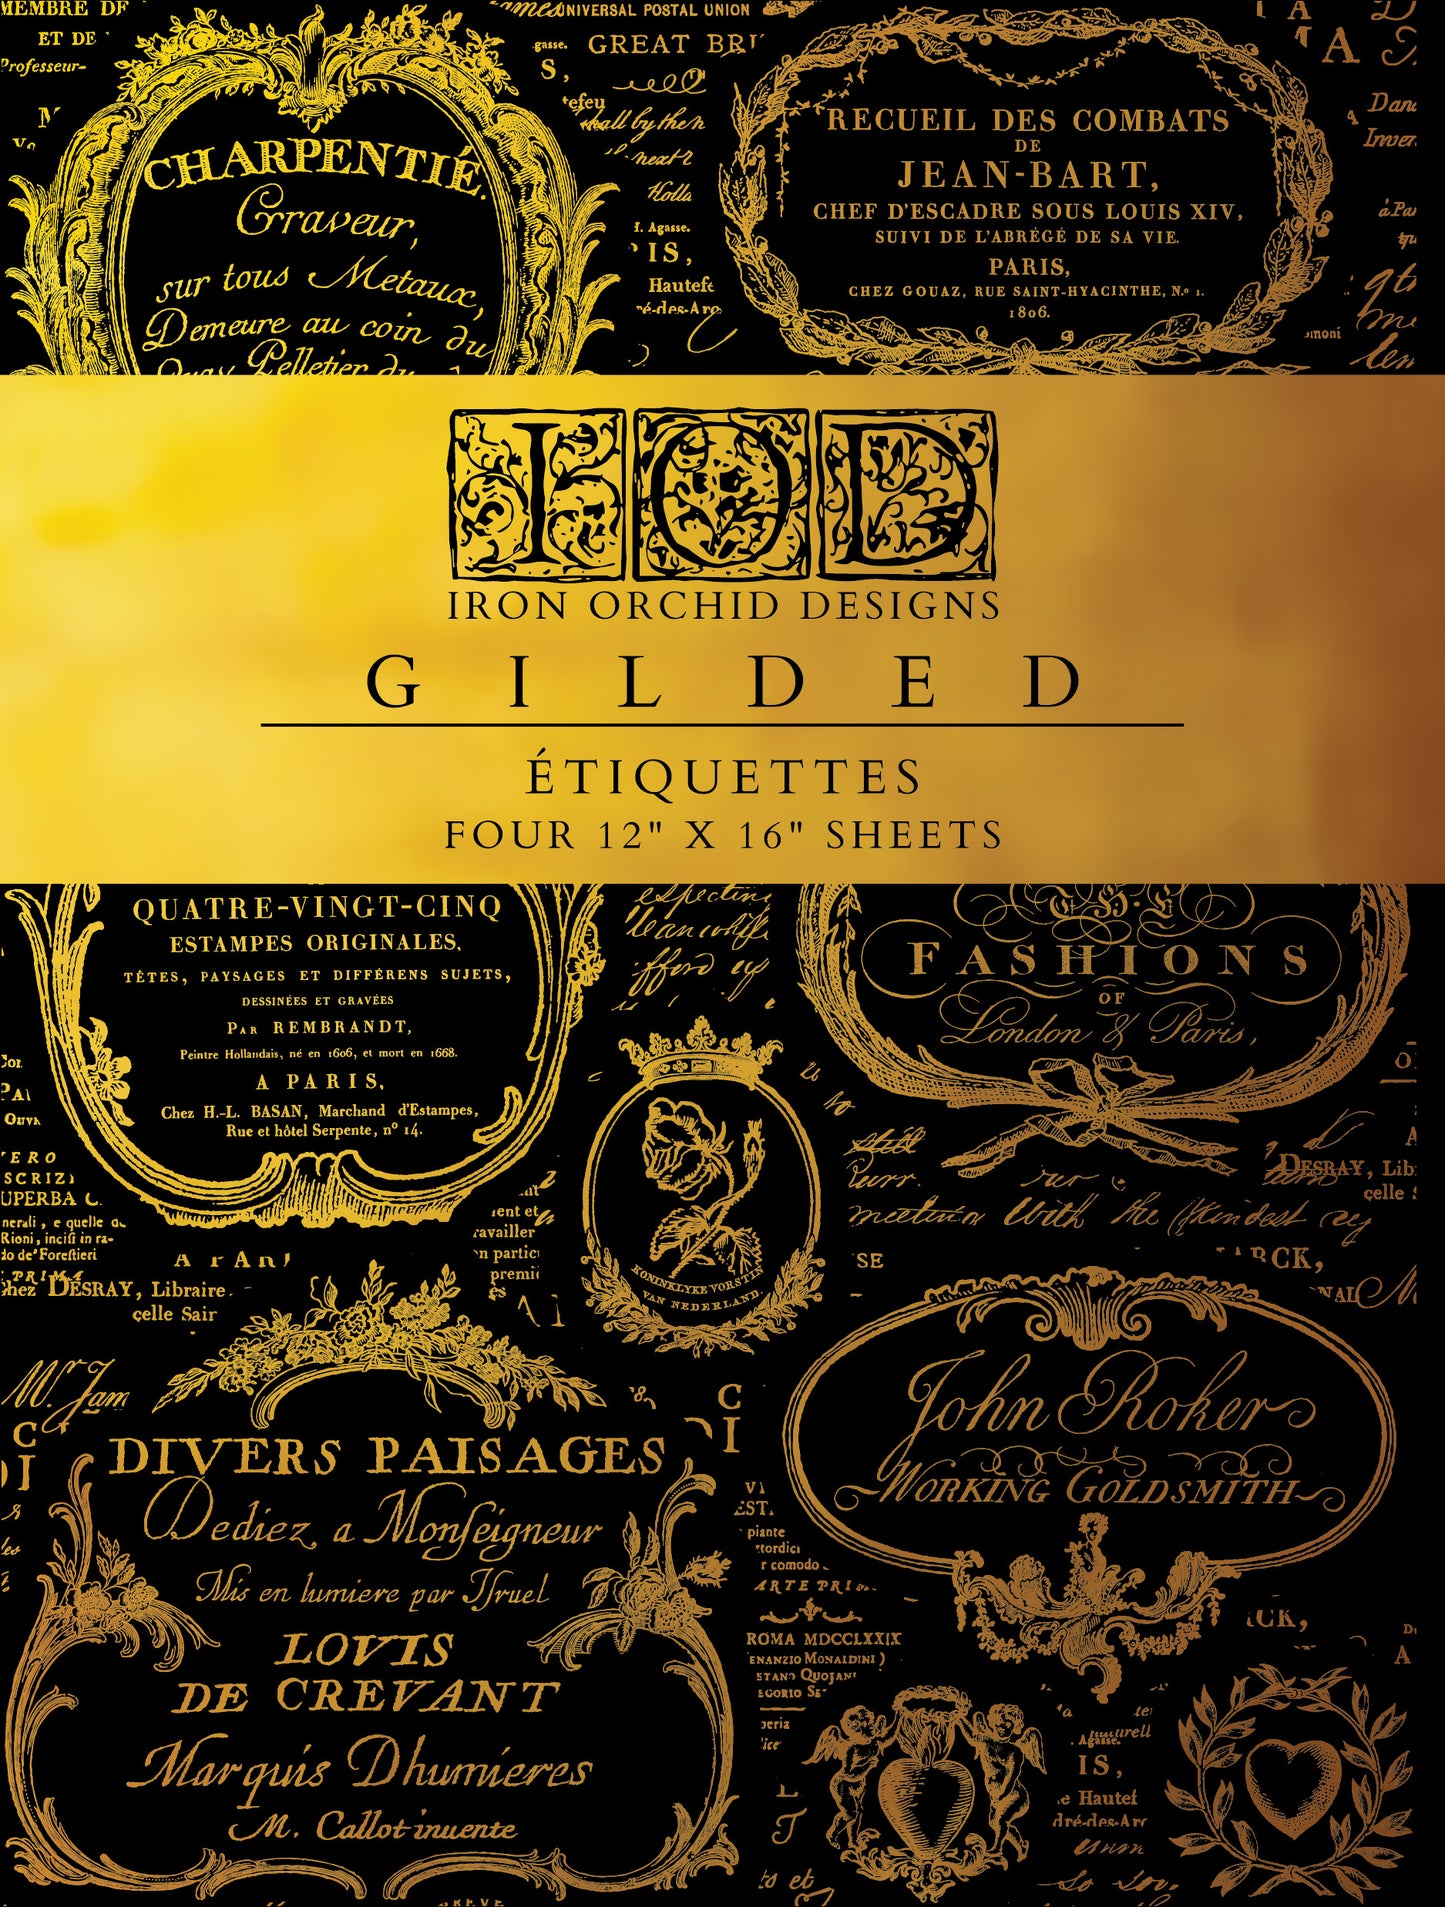
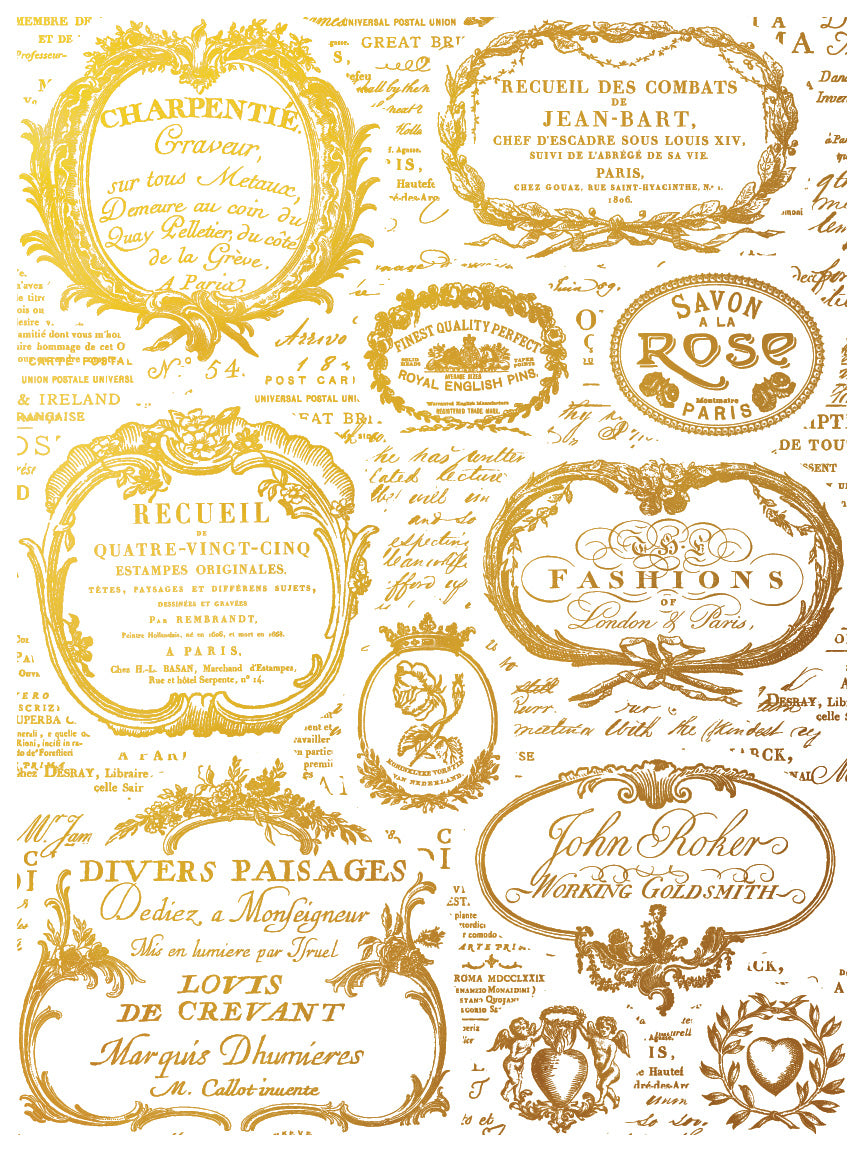
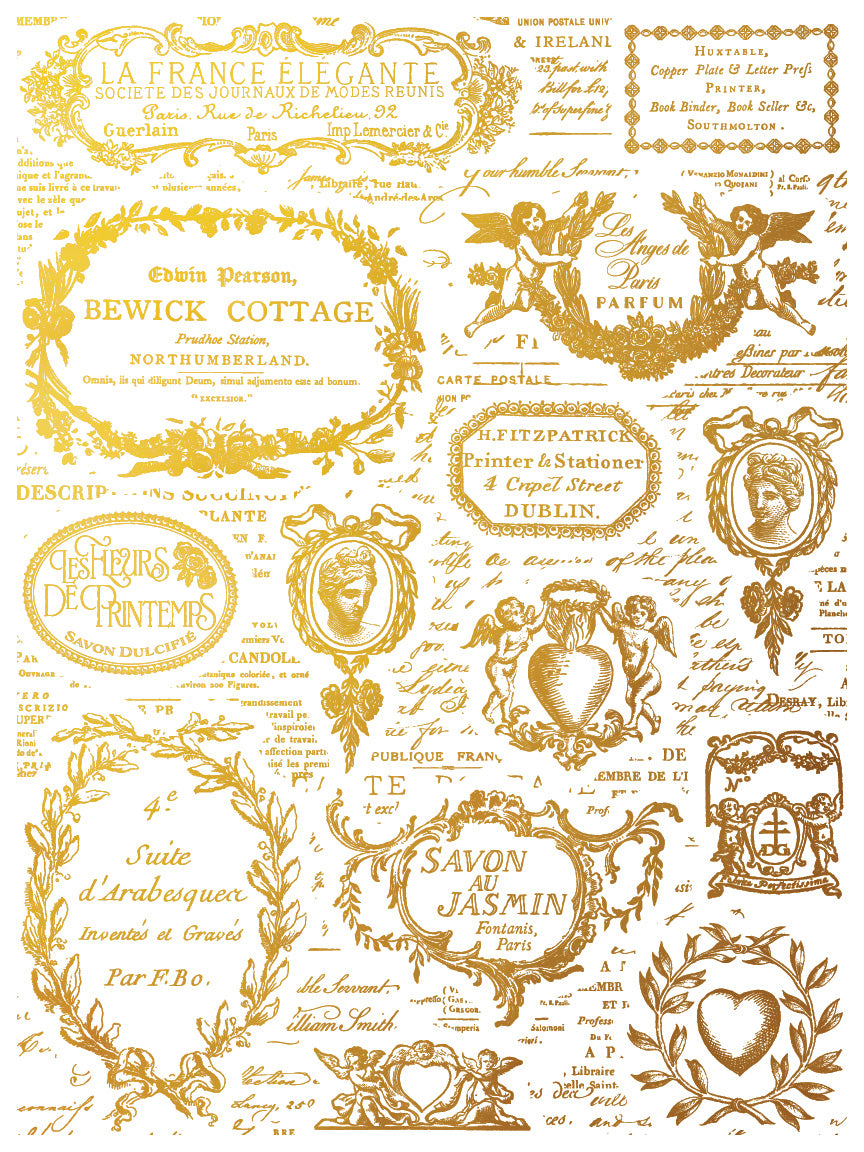
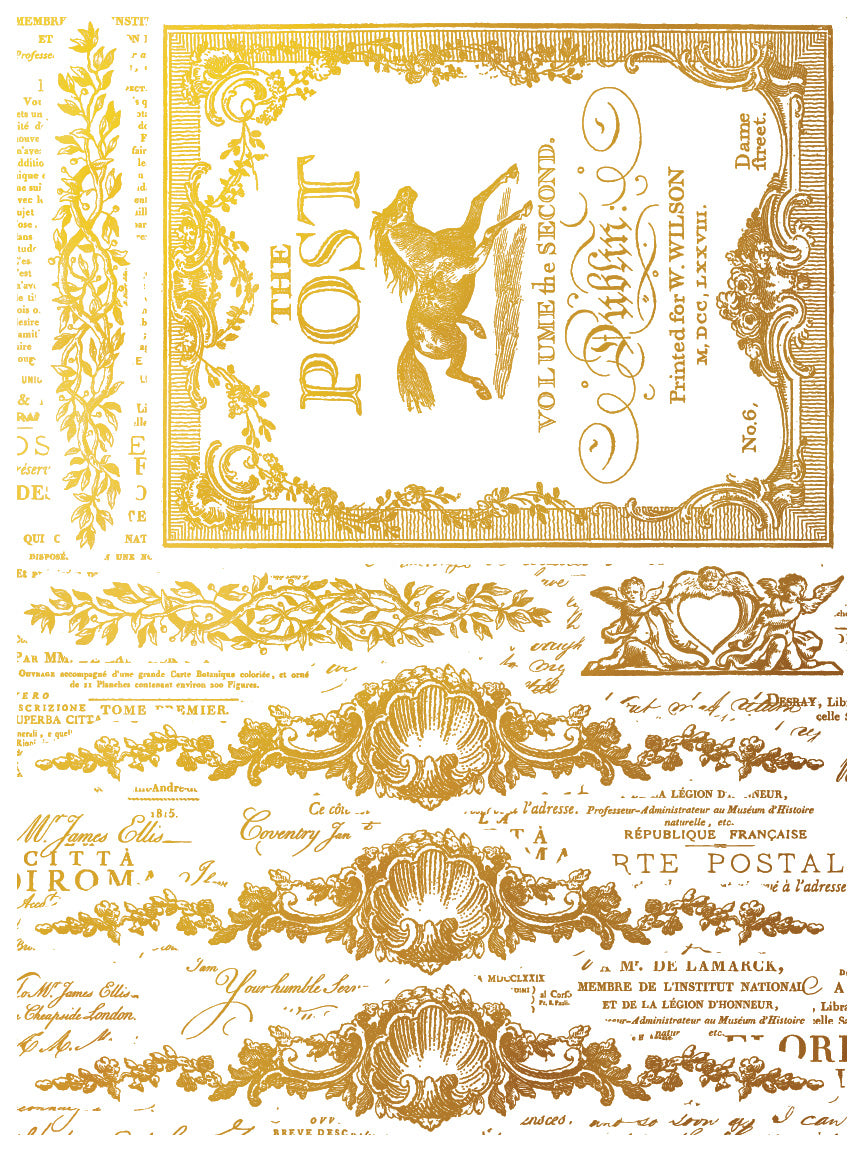
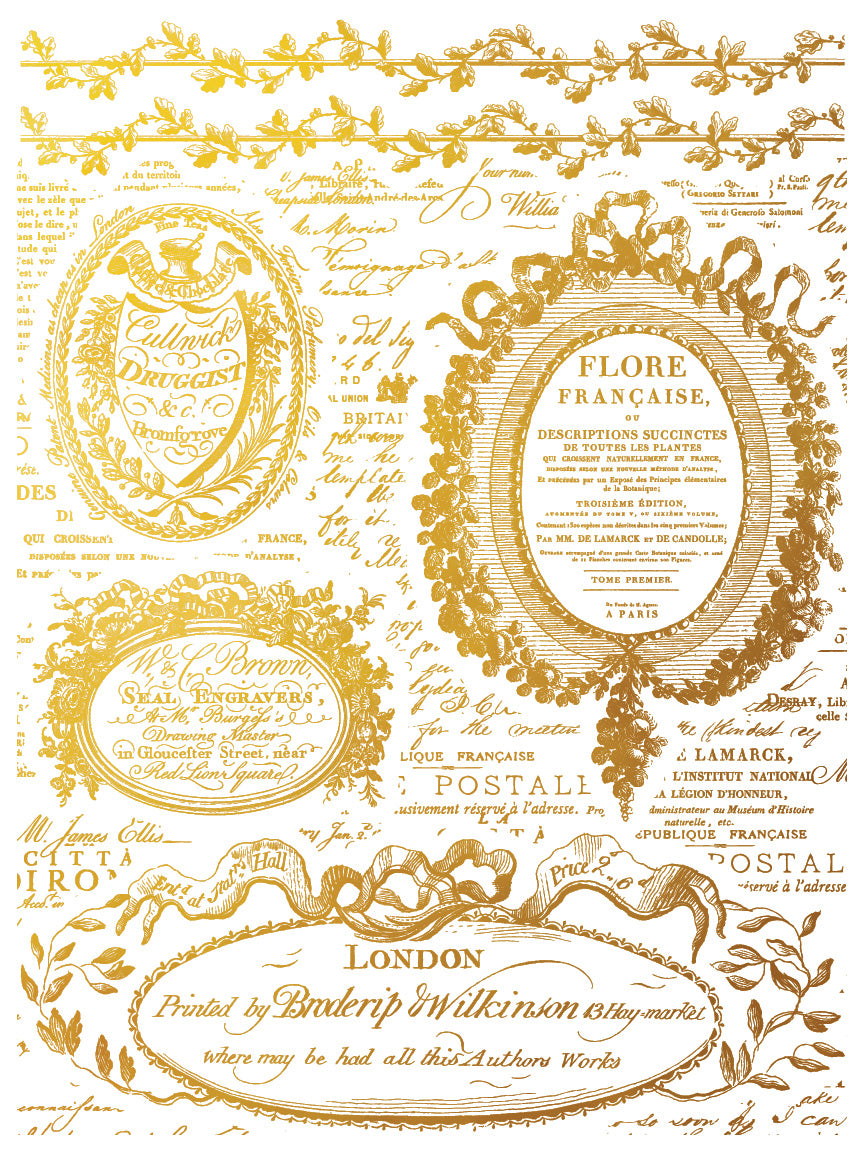
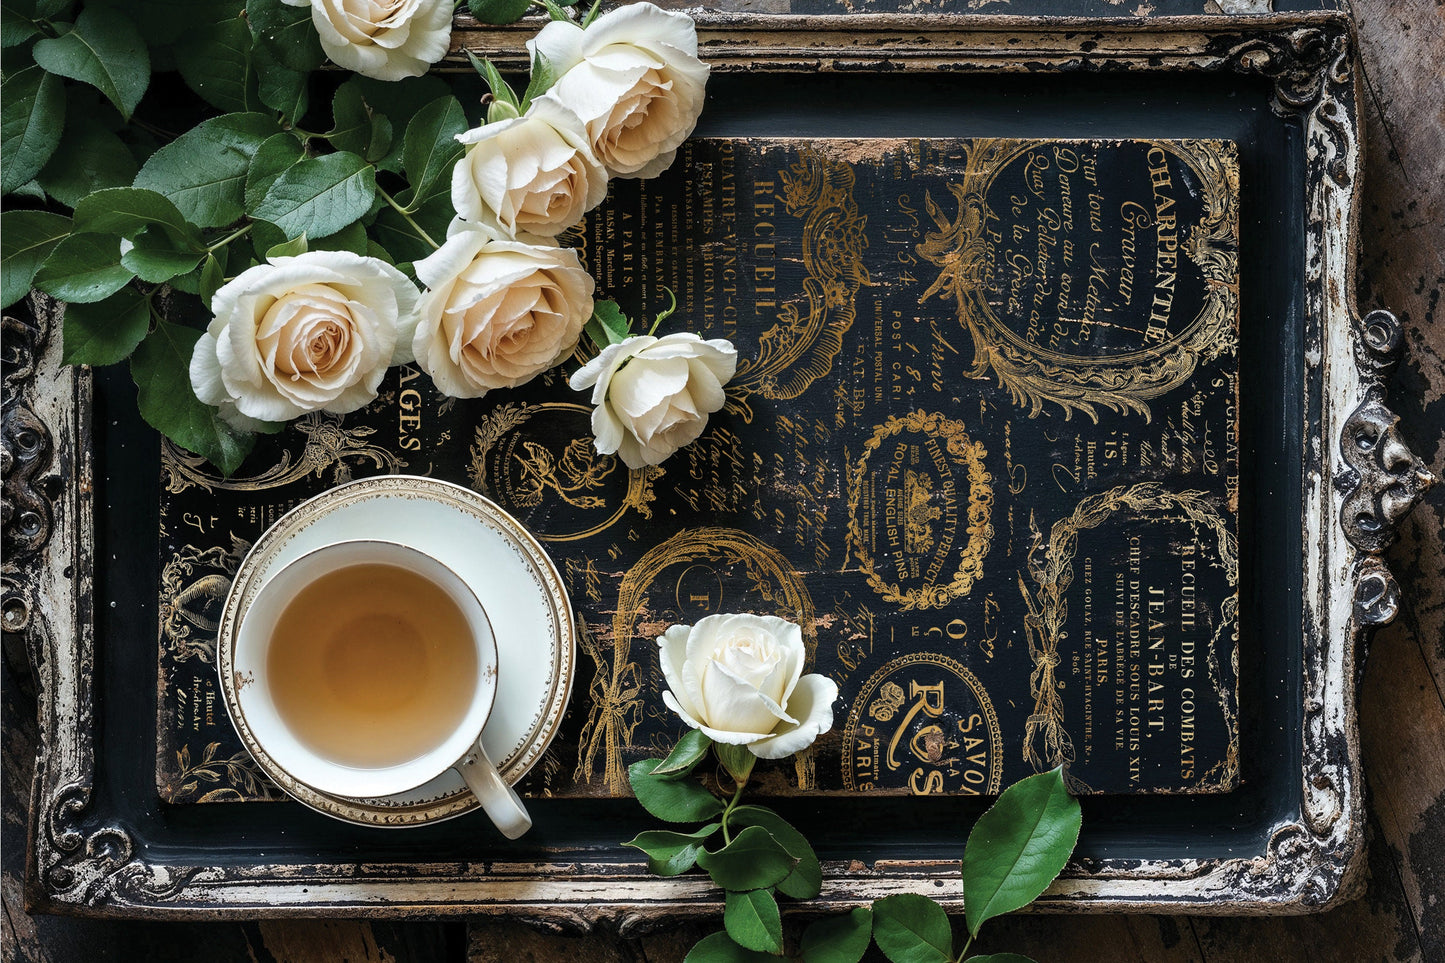
A sophisticated European gilded transfer collection, Étiquettes is perfect for goth-glam styles and seamlessly integrates into French farmhouse aesthetics when used on neutral colors and softened with a patina or slight antiquing. This collection features elegant labels and signage with flourished frames, intricate typography, and motifs reminiscent of 18th and 19th-century decorative art. Laurel wreaths, floral motifs, and frames inspired by 1800s calling cards add to its timeless charm. Use individual elements on your small projects, or apply the whole sheet as an all-over pattern.
IOD Transfers are high-quality, pressure-sensitive designs that can be easily applied to a variety of surfaces, including furniture, small decor, and craft projects. IOD's commitment to sustainable, timeless designs ensures that your creativity and effort result in pieces that will be cherished for years to come.
With simple instructions, IOD Transfers are easy to use and bring instant elegance and charm to your projects, making them perfect for beginners and experienced creators alike.
Project Suggestions:
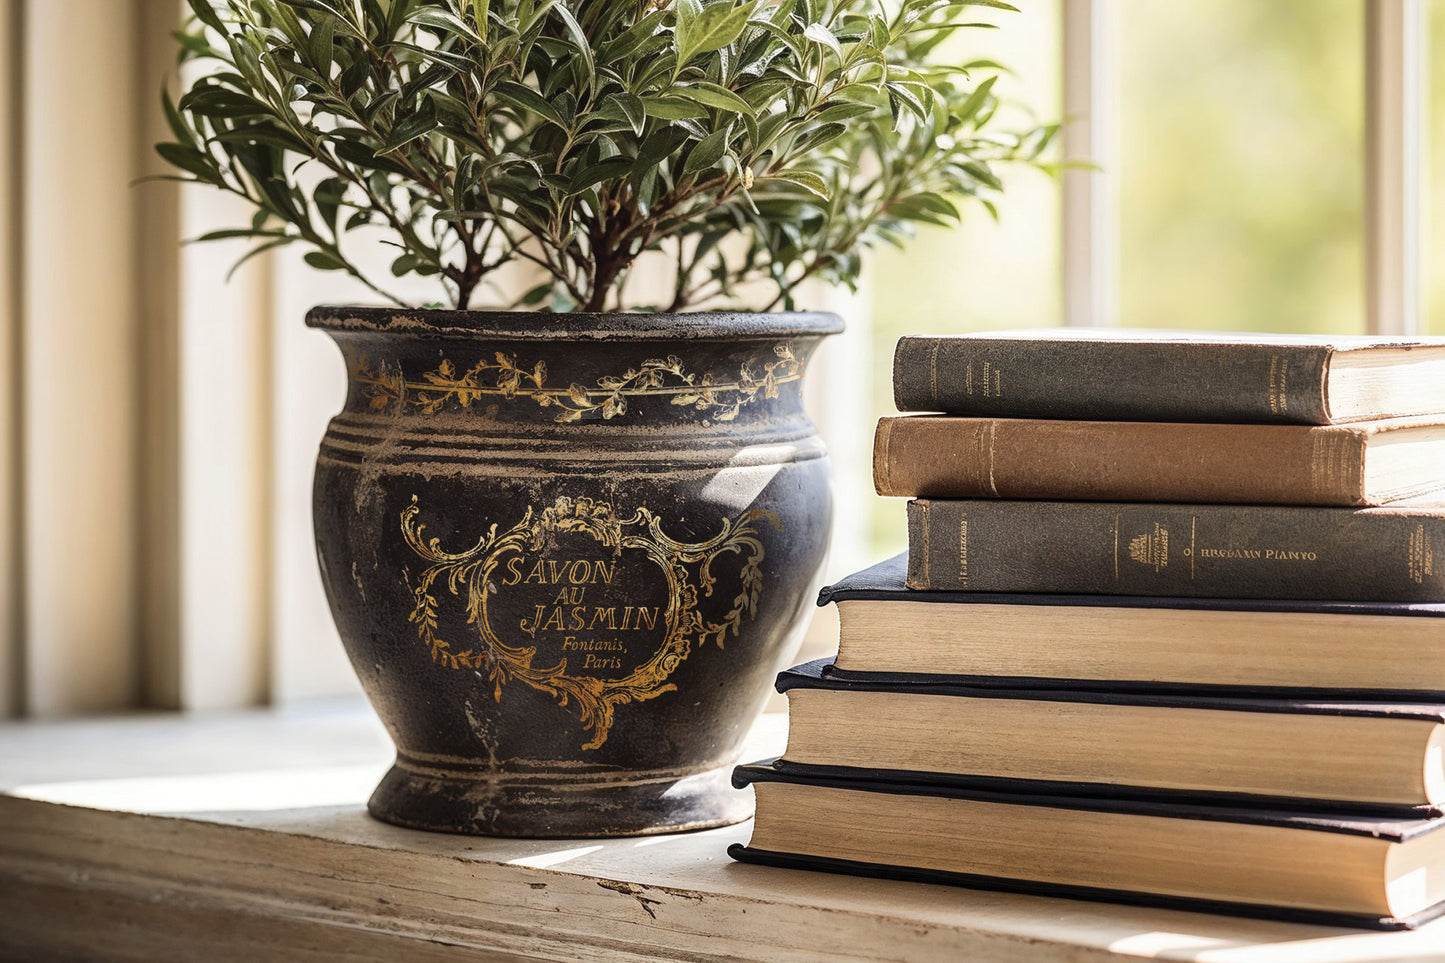
Small Decor: Dainty jewelry boxes, French-style toiletry jars, French-style gourmet gift jars, candles, lamps, vases, and flower pots.
Wall Art: Shadow box wall art with dark interiors and a frame accented with IOD Moulds.
Craft: Embellish special occasion cards, invitations, or journals.
Pair With:
Étiquettes pair well with most IOD Moulds like the Trimmings mould and Dainty Flourishes mould.
Typography stamps like Letterpress and Apothecary Labels.
Handy Tip: Depending on the final top coat used, you can maximize or play down the final sheen of the transfer to fit your project's aesthetic.
If you are familiar with traditional IOD Transfers, they apply similarly but may take a bit more patience in areas of fine detail. Take your time and don’t press any harder than you usually would, as this can hinder the release rather than help.
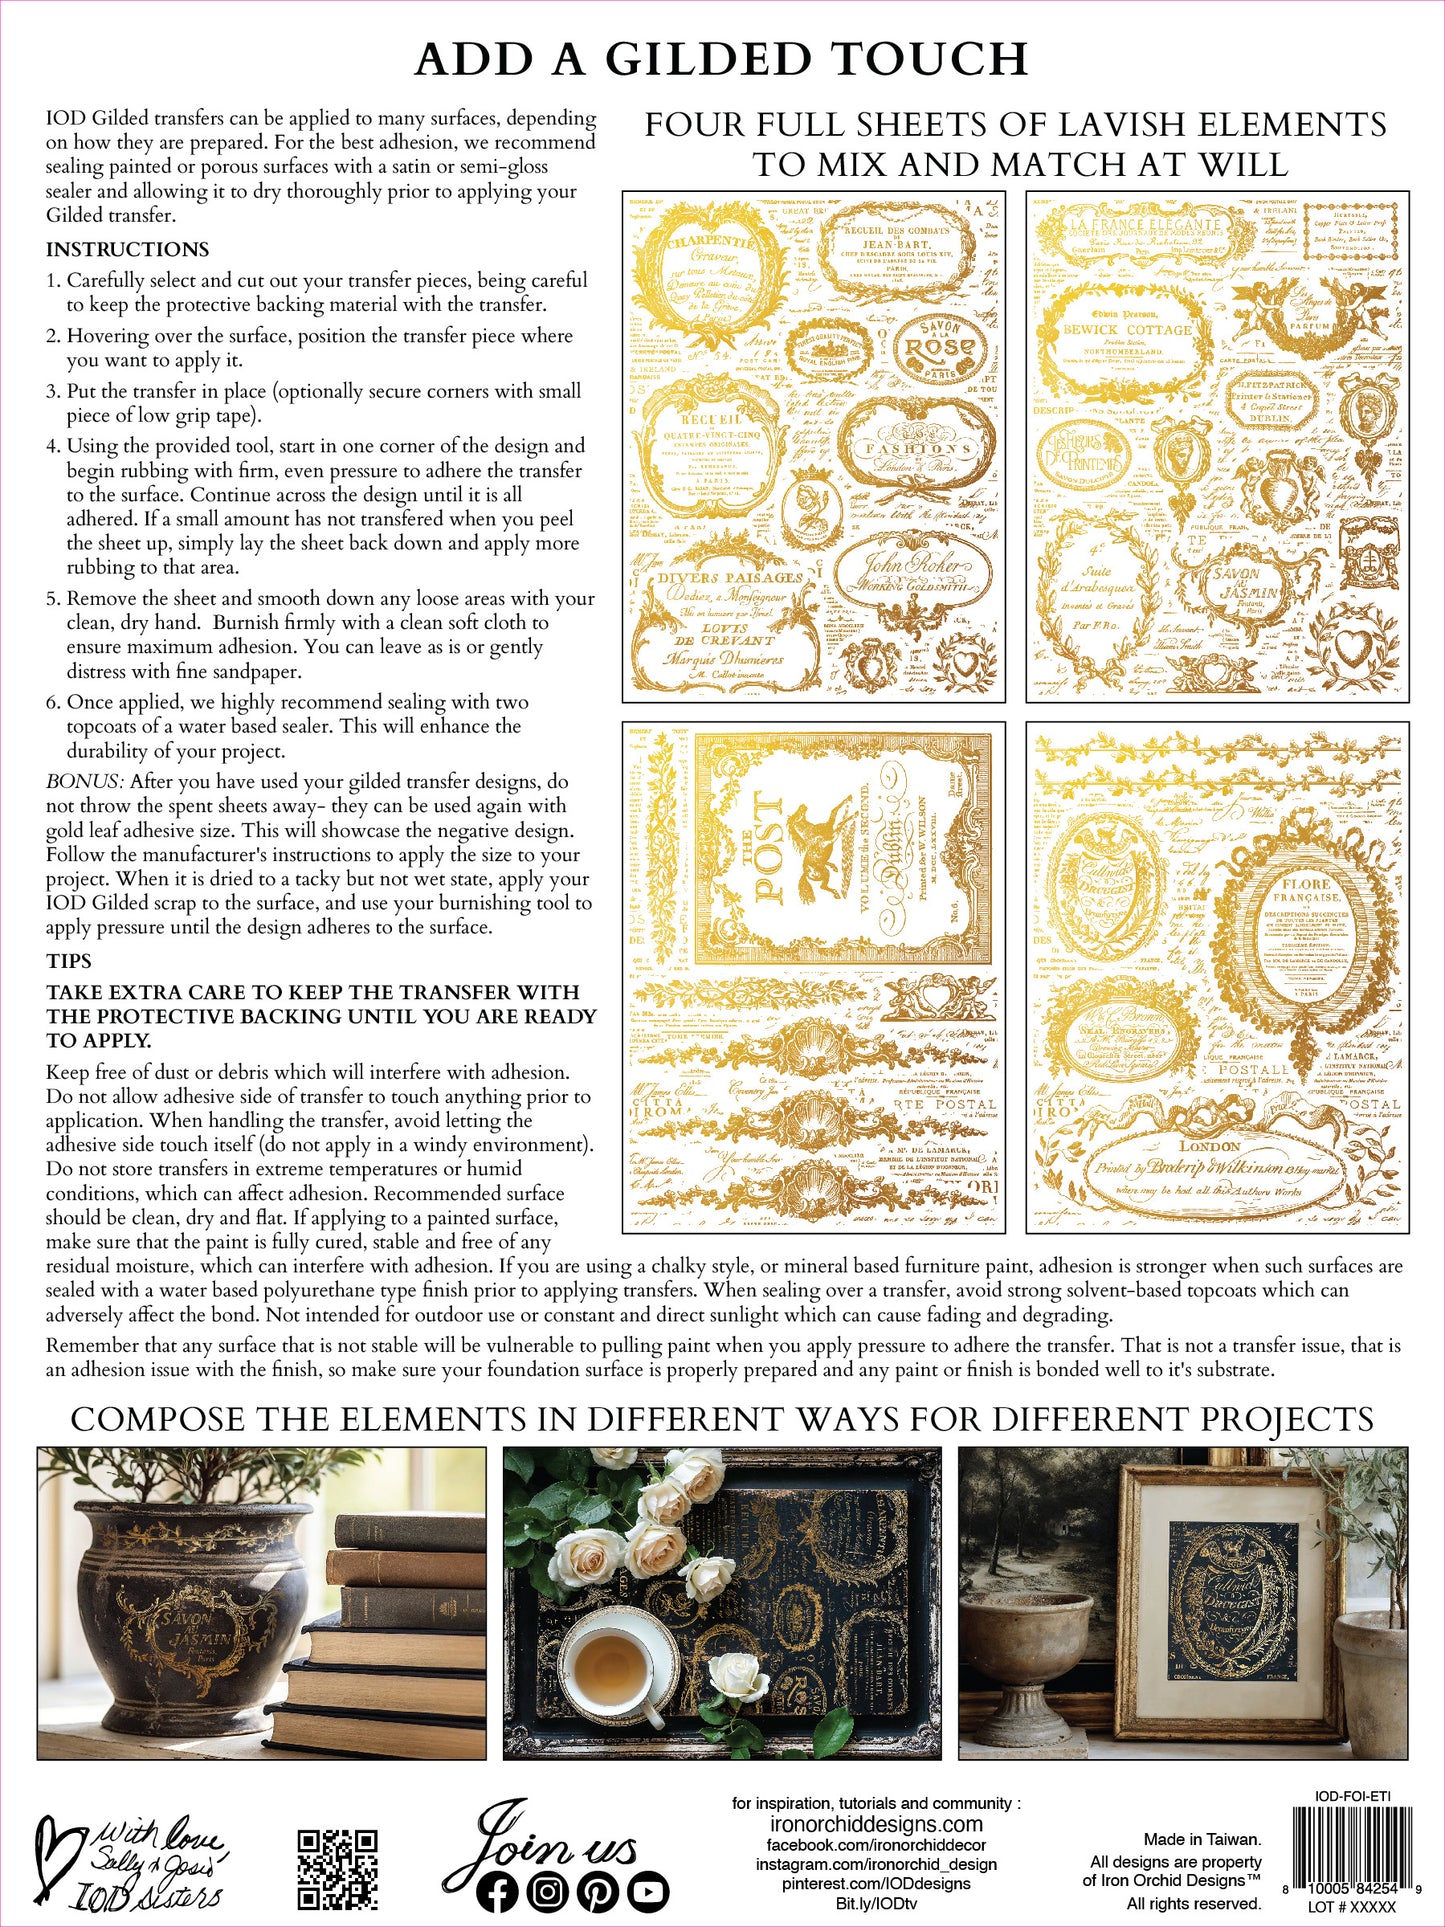
IOD Transfers are a little delicate and therefore need a little extra care, but are worth it. Follow the instruction to add instant style to your project. Keep the backing sheet with the transfer until you are ready to apply it. Keep the area free of dust or debris as this can interfere with adhesion. Do not let the adhesive side of transfer to touch anything prior to applying to your project. When you are handling the transfer, avoid letting the adhesive side touch itself. Do not store transfer in extreme temperatures or humid conditions, which can affect adhesion.
Once you are ready to apply your transfer, start with a clean, dry, matte surface. If the project has been painted, make sure it’s well cured before applying the transfer. If you sanded the paint make sure that there is no residual dust. All of these steps will ensure less interfere with adhesion. For the best adhesion, be sure to seal the surface of your project with a high quality, water-based, matte finish polyurethane sealer before applying a transfer.
now that your surface is prepared you are ready to carefully remove the transfer from its white backing. Slowly and carefully line up the transfer where you want it on the surface, be sure that it does not touch until the placement is where you want it. Use low tack tape to hold it in place.
either use the provided tool, or one of your choice. Starting at one end of the transfer, rub firmly to adhere the transfer to the surface. keep burnishing until the entire image is transferred. If any parts aren’t stuck when you lift, simply lay it back down and burnish more on that part. Once the image is complete transferred, smooth down any edges that aren’t fully adhered.
It is recommend that you seal with a water based or not harsh solvent based, sealer. You can also use waxes created for chalk type paint as long as they do not contain harsh solvents.