Proud Authorized Iron Orchid Designs Stockist!
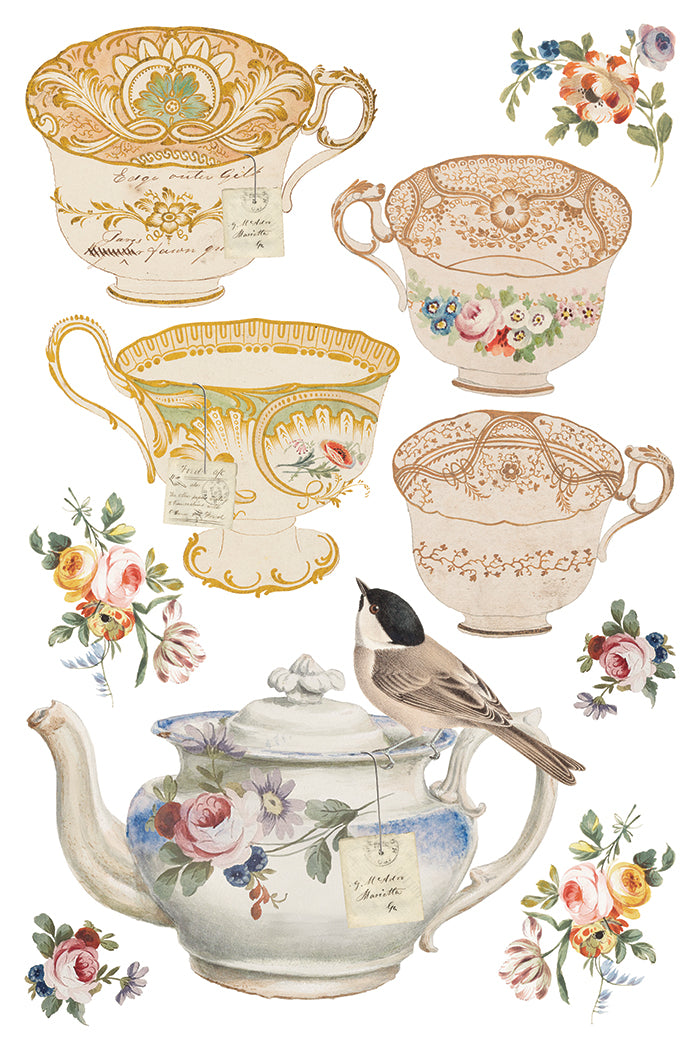
The Belgravia
IOD Transfer | 8 Pages | 8” x 12” | Full Color
The Belgravia is a transfer set created from vintage teacup illustrations sourced from a British Museum—the original artwork used in the production of these teacups and plates in the 1800’s. The collection is expanded with additional elements like birds, spoons, and florals, offering a range of pieces that work naturally together.
Well suited for trays, wall art, and decorative accents, this set leans into a more sophisticated take on traditional English tea culture. Use it for tea trays, refined tabletop décor, and thoughtful accents, as well as wedding or shower signage. The plates made the cutest coasters!
🌿 **What Are IOD Transfers?**
IOD Transfers are high-quality, pressure-sensitive designs that effortlessly transform furniture, small décor, crafts, and more. They’re designed with sustainability and timeless style in mind, ensuring that your creative projects become lasting treasures.
✨ **How to Apply IOD Transfers:** ✨
1. **Prepare Your Surface:**
- Ensure the surface is clean, dry, and matte.
- If painted, allow the paint to cure completely and remove any sanding dust.
- For best results, seal the surface with a high-quality, water-based matte polyurethane before applying the transfer.
2. **Position the Transfer:**
- Keep the backing sheet attached until you’re ready to apply.
- Carefully peel the backing and position the transfer exactly where you want it.
- Use low-tack tape to hold it in place if needed.
3. **Apply the Transfer:**
- Using the provided tool (or your favorite burnishing tool), start at one edge and rub firmly to adhere the design.
- If any areas don’t stick, simply lay the transfer back down and burnish again until the image is fully transferred.
- Smooth down any loose edges for a seamless finish.
4. **Seal for Protection:**
- After application, seal with a water-based sealer or a gentle, non-harsh solvent-based sealer.
- Waxes designed for chalk-style paints can also be used, as long as they’re free from harsh solvents.
💡 **Pro Tips for Best Results:**
✔️ Keep the adhesive side clean and dust-free to ensure smooth adhesion.
✔️ Avoid letting the sticky side fold onto itself.
✔️ Store transfers in a cool, dry environment to preserve their quality.
✔️ Layer with IOD stamps and moulds for a custom, dimensional look.